
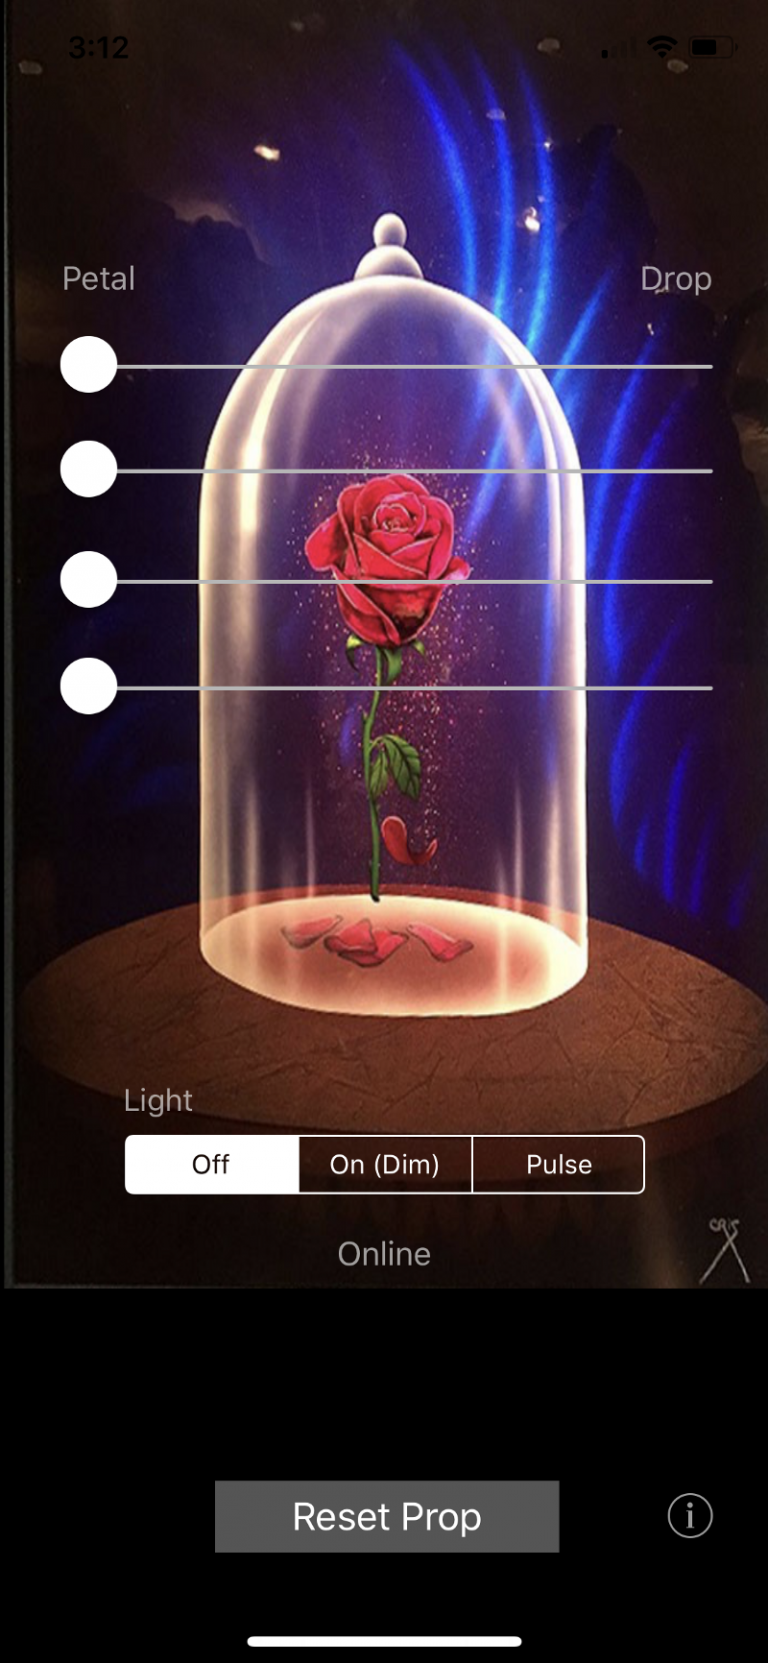
Enchanted Rose 2.0 with Falling Petals
Revisiting the Enchanted Rose project four years later, this time with an open-source build based on Raspberry Pi.

Revisiting the Enchanted Rose project four years later, this time with an open-source build based on Raspberry Pi.
Part 1 of this article covers the basic parts list, code, and assembly. UPDATE (January 2023): I’ve built a version 2.0 of this prop. See “Enchanted Rose 2.0: Raspberry Pi Prop with Falling Petals” for updated instructions. UPDATE (April 2021): The Bluetooth shield used in this Arduino-based project is apparently discontinued. If I were to…
You must be logged in to post a comment.