
How to Merge Calendars (iCal) Automatically
If you’re juggling calendars across Airbnb, VRBO, and Booking.com, mastercalendar.io merges all your rental platform calendars (.ics iCal formats) into one synchronized feed.

If you’re juggling calendars across Airbnb, VRBO, and Booking.com, mastercalendar.io merges all your rental platform calendars (.ics iCal formats) into one synchronized feed.

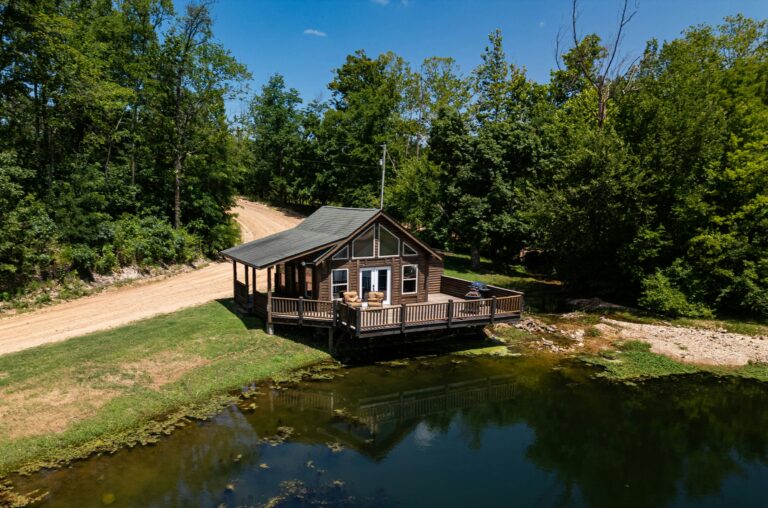
Thinking about going in on a vacation home with others? You need a shared agreement. Here’s a free agreement template to start from.

Every website owner eventually faces the same question: What do my visitors actually think? Analytics tell you what people do. Heatmaps show you where they click. But neither tells you why they came, what they’re looking for, or why they’re about to leave. I built Popsee to solve this. It’s a tiny, unobtrusive widget that…

OurSharedPlace makes it easy to manage bookings and how-to articles for your vacation home.
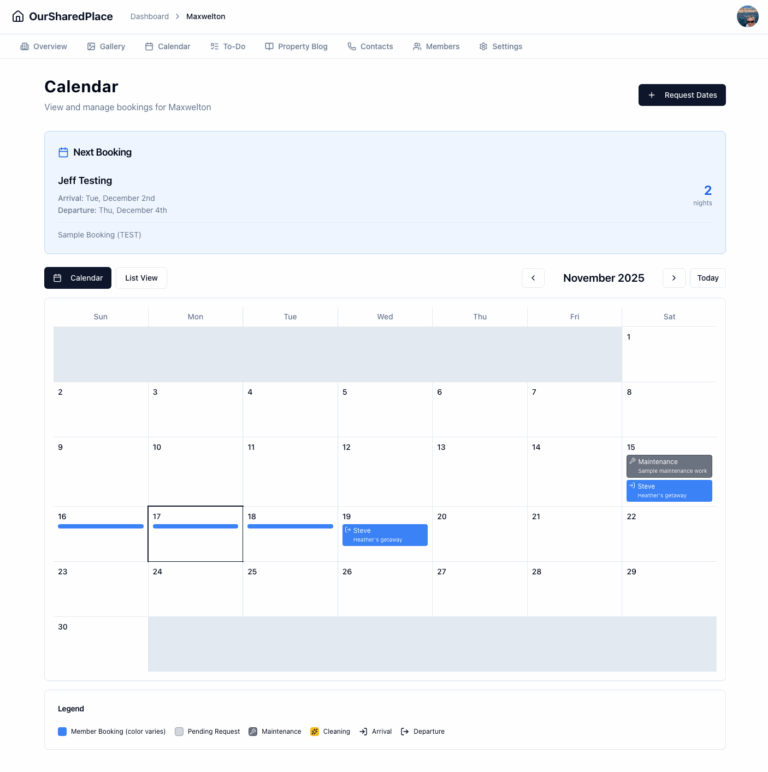
OurSharedPlace.com makes the management of shared vacation property easier. Manage a booking calendar and a how-to blog privately and securely.
For years, my extended family has co-owned a vacation home. Nice spot, relaxing location. But coordinating who uses it when, or the list of maintenance tasks and who should do what? That part needed help. Is the home free for use on a particular date? Who’s arriving next? When is maintenance happening? One of the…

Seattle Brief is a smart news and events aggregator for the Seattle area. New: Seattle-area music calendar!

The ‘Information Age’ is over. We’re now in ‘The Affirmation Age’ – an era where our digital existence isn’t measured by what we know, but by what validates us.

RapidAPI makes it easy to monetize the application programming interfaces you’ve built.

Remotely read a liquid propane gas (LPG) tank with a cheap ESP32 board, Raspberry Pi and a little cleverness.